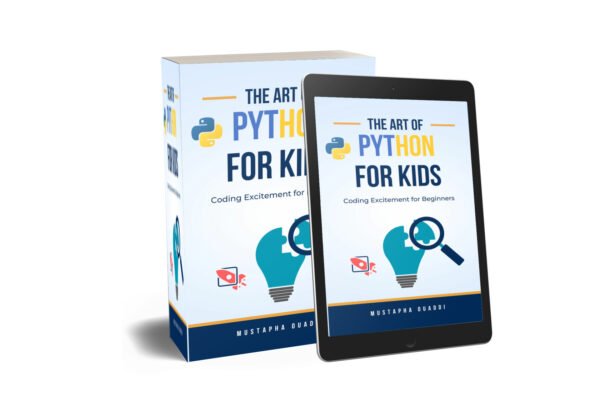
Python For Kids
“Python Adventures: Coding Excitement for Beginners” is your ticket to the thrilling world of Python programming. Perfect for beginners, this comprehensive ebook takes you on an exciting journey through the fundamentals of Python, teaching you everything you need to know to start coding with confidence. You can make the future of your children by teaching…
Introduction:
Continuous Integration (CI) is a software development practice that involves frequently integrating code changes into a shared repository, where automated tests are run to ensure the changes do not introduce errors or regressions. Jenkins is one of the most popular CI/CD (Continuous Integration/Continuous Deployment) tools used by development teams to automate the CI process efficiently. In this article, we’ll guide you through the basics of getting started with Jenkins for Continuous Integration and how to set up your first Jenkins pipeline.
What is Jenkins?
Jenkins is an open-source automation server written in Java that helps automate various aspects of the software development lifecycle, including building, testing, and deploying applications. It provides a user-friendly web interface and a rich ecosystem of plugins for integrating with different version control systems, build tools, testing frameworks, and deployment platforms.
Getting Started with Jenkins:
- Installation: To get started with Jenkins, you first need to install it on your local machine or a server. Jenkins can be installed as a standalone application or deployed as a Docker container. You can download the Jenkins WAR file from the official website or install it using package managers like apt, yum, or Homebrew. Alternatively, you can use Jenkins Docker images available on Docker Hub.
- Initial Setup: Once Jenkins is installed, you can access the Jenkins web interface by navigating to http://localhost:8080 (or the respective URL if running on a server). During the initial setup, Jenkins will prompt you to unlock Jenkins by providing an initial admin password, which is stored in a file on disk. Follow the instructions to unlock Jenkins and install recommended plugins.
- Plugin Installation: Jenkins offers a wide range of plugins to extend its functionality and integrate with various tools and technologies. After unlocking Jenkins, you can install additional plugins based on your requirements. Commonly used plugins include Git, GitHub, Maven, Node.js, Docker, JUnit, and Pipeline. Install the plugins you need for your CI workflows.
- Creating a Jenkins Pipeline: In Jenkins, a pipeline is a series of steps that define the entire CI/CD process, from checking out source code to deploying the application. Jenkins Pipeline is defined using a Jenkinsfile, which is written in Groovy syntax. You can create a Jenkinsfile in your project repository or define it directly in the Jenkins web interface using the Pipeline Syntax tool.
- Running a Jenkins Pipeline: Once you’ve created a Jenkins pipeline, you can trigger it manually or set up triggers to run automatically based on events such as code commits, pull requests, or schedule-based triggers. Jenkins will execute the pipeline according to the defined stages and steps, which may include tasks like fetching source code, building artifacts, running tests, and deploying applications.
- Viewing Build Results: After running a Jenkins pipeline, you can view the build results, including console output, test reports, code coverage metrics, and artifacts generated during the build process. Jenkins provides a user-friendly interface for visualizing build history, trends, and statistics, allowing you to track the progress and health of your CI workflows over time.
Conclusion:
Jenkins is a powerful and versatile tool for implementing Continuous Integration and automating various aspects of the software development lifecycle. By following the steps outlined in this article, you can get started with Jenkins and set up your first CI pipeline to streamline your development workflows, improve code quality, and accelerate the delivery of high-quality software. Experiment with different Jenkins plugins, configurations, and best practices to optimize your CI/CD processes and drive continuous improvement in your development practices.


